How to Prepare a Real Estate Listing with AI: Photos, Description and Video Tour
Three tools for agents: listing photos that stay truthful, a description written only from your facts, and a video tour built from your photos. One apartment, start to finish.
Contents
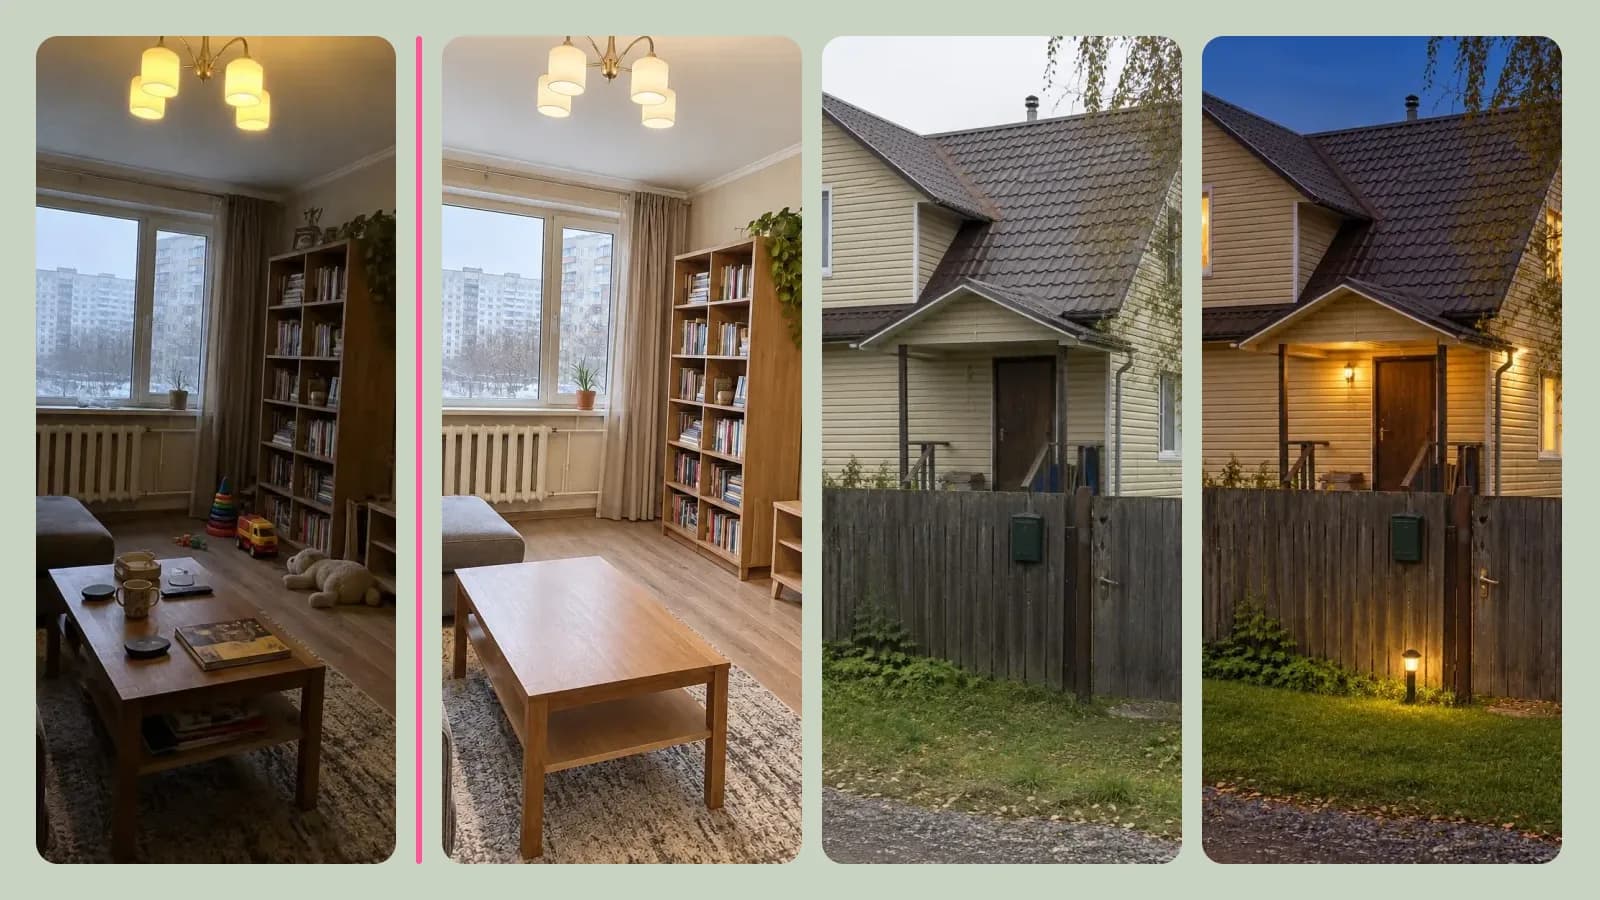
Most listings are shot on a phone on the day the agent first walks in: a dim living room, a throw on the sofa, the kids' toys on the rug, a winter sky over the house. A photographer for every property isn't realistic, and the description still has to be written at night. ImageGPT now has three tools for this: Listing photos makes those phone shots bright and tidy, Listing text writes the title and description from your facts, and Property video tour turns your photos into a short walkthrough.
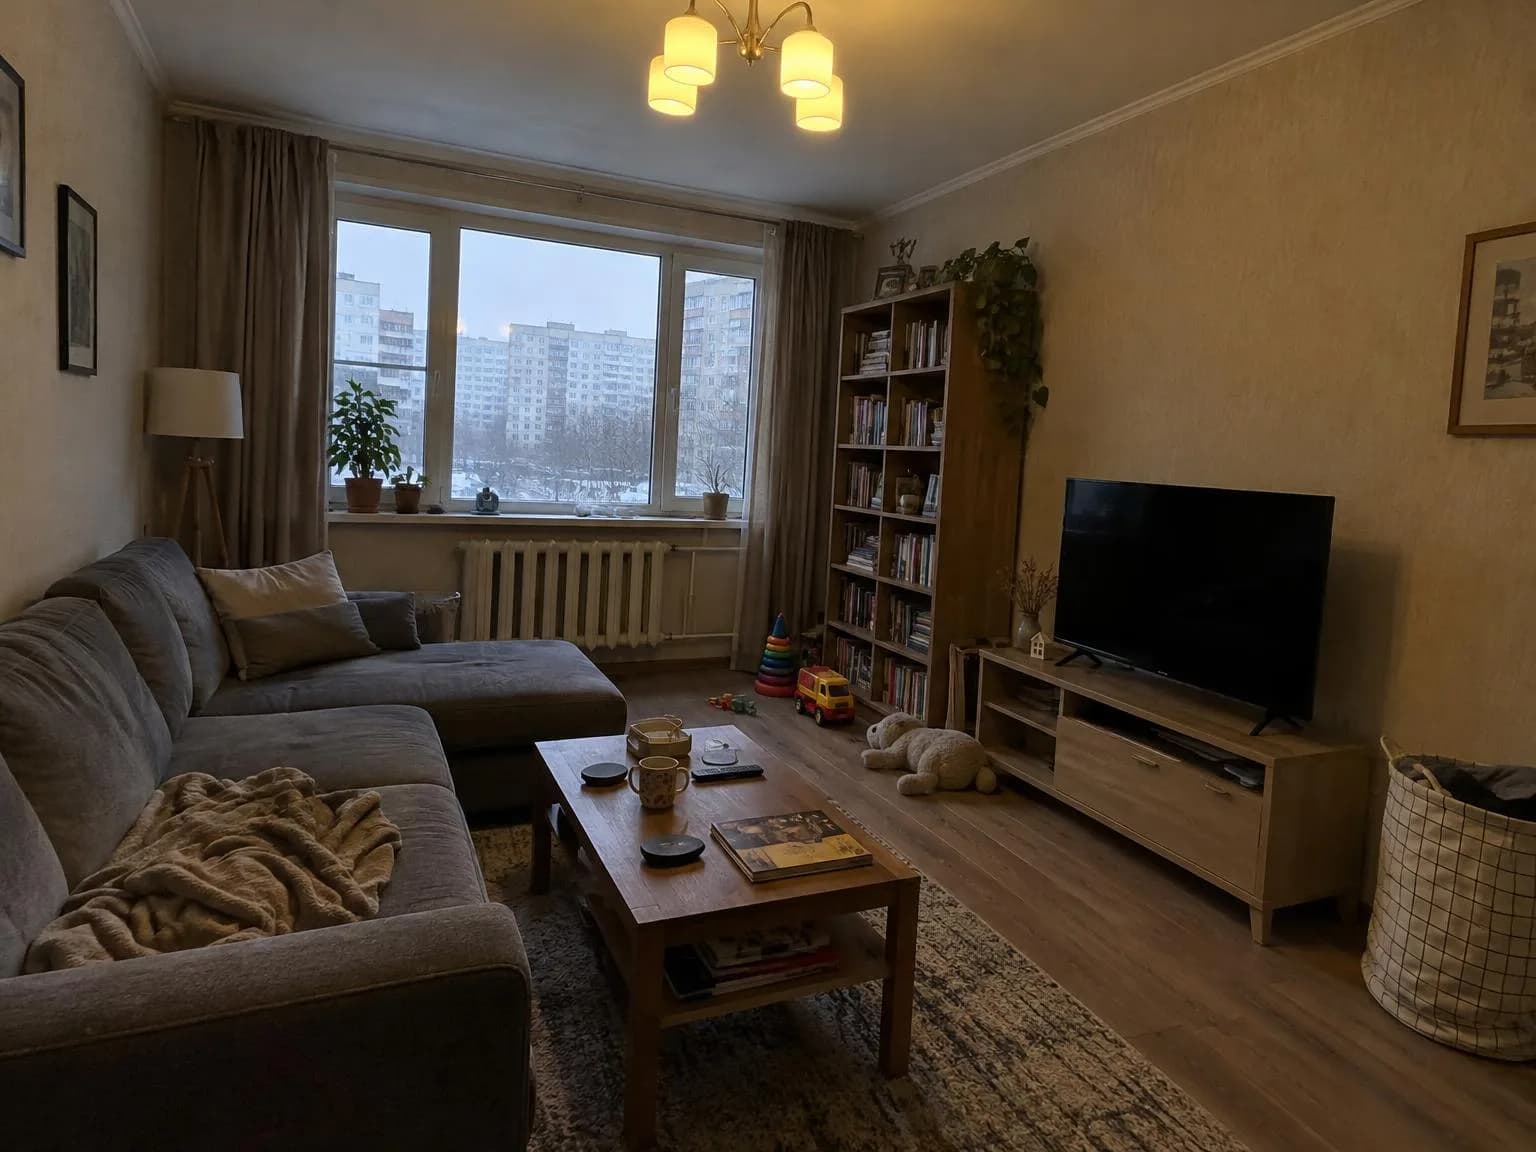
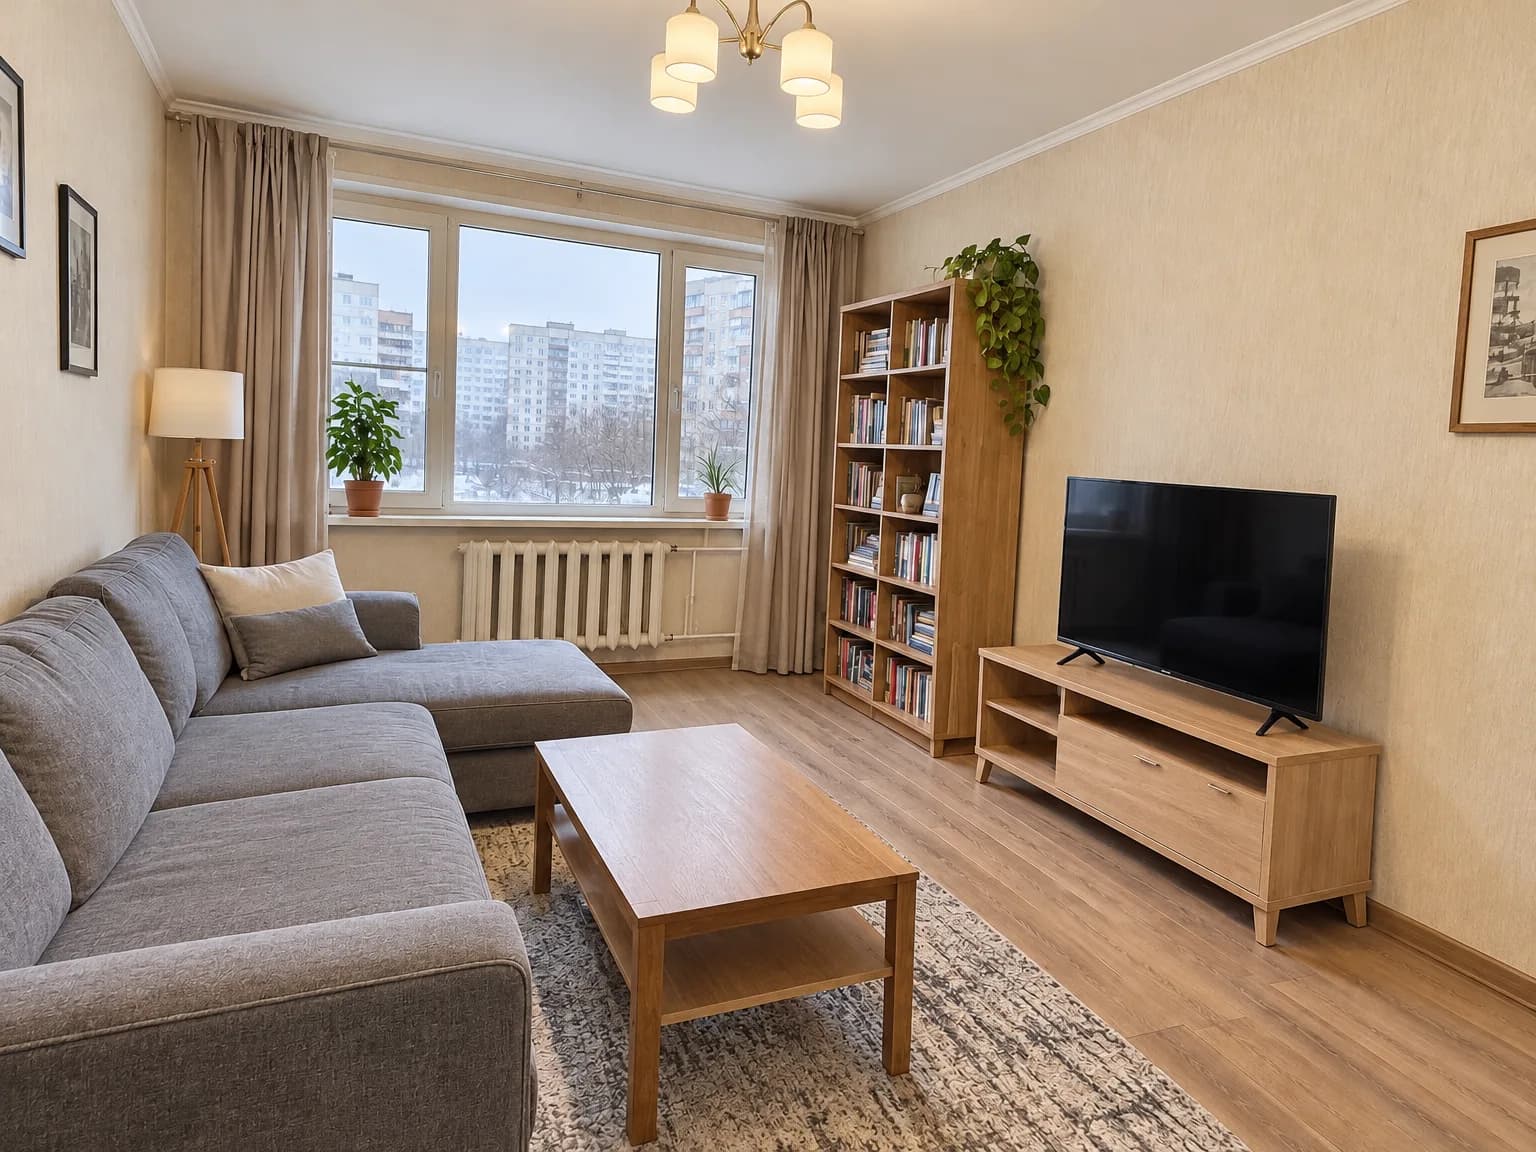
Every result below was made with these tools on one sample two-bedroom apartment. The "phone photos" themselves are generated, so we don't publish anyone's real home.
The rule: the property is never changed
Buyers compare the photos with what they see at the showing. So Listing photos only changes what isn't part of the property: light, color, the sky and the stuff lying around. Walls, windows, doors, finishes, layout, the view and the camera angle stay as they are. It doesn't add furniture or renovations and doesn't hide defects of the building. If you want to show a room furnished, that's virtual staging, which lives in Interior Design and can add a Virtually staged label.
What you need
- Phone photos of each room and the outside of the house, in JPG, PNG or WebP. Shoot from chest height and from a corner to get more of the room in.
- The facts for the description: size, floor, year built, renovation, transport, terms and price.
- For the tour, your 3–10 best photos in viewing order: the street or entrance first, then the rooms.
Step 1: listing photos
- Open Listing photos and pick a mode: Enhance, Blue sky, Declutter, Twilight or Summer view.
- Upload a photo. To process the whole home the same way, add up to 29 more under More photos in the same style; you get one picture per photo.
- For Declutter, choose how much to remove: Clutter only keeps every piece of furniture, Also small furniture removes baskets, drying racks and stools that crowd the frame.
- Add a wish in plain words if you like, for example "remove the magnets from the fridge too". The price is on the button before you start.
- Check the result against the original with the Before / after switch and download it. Turn on 4K copy for print.
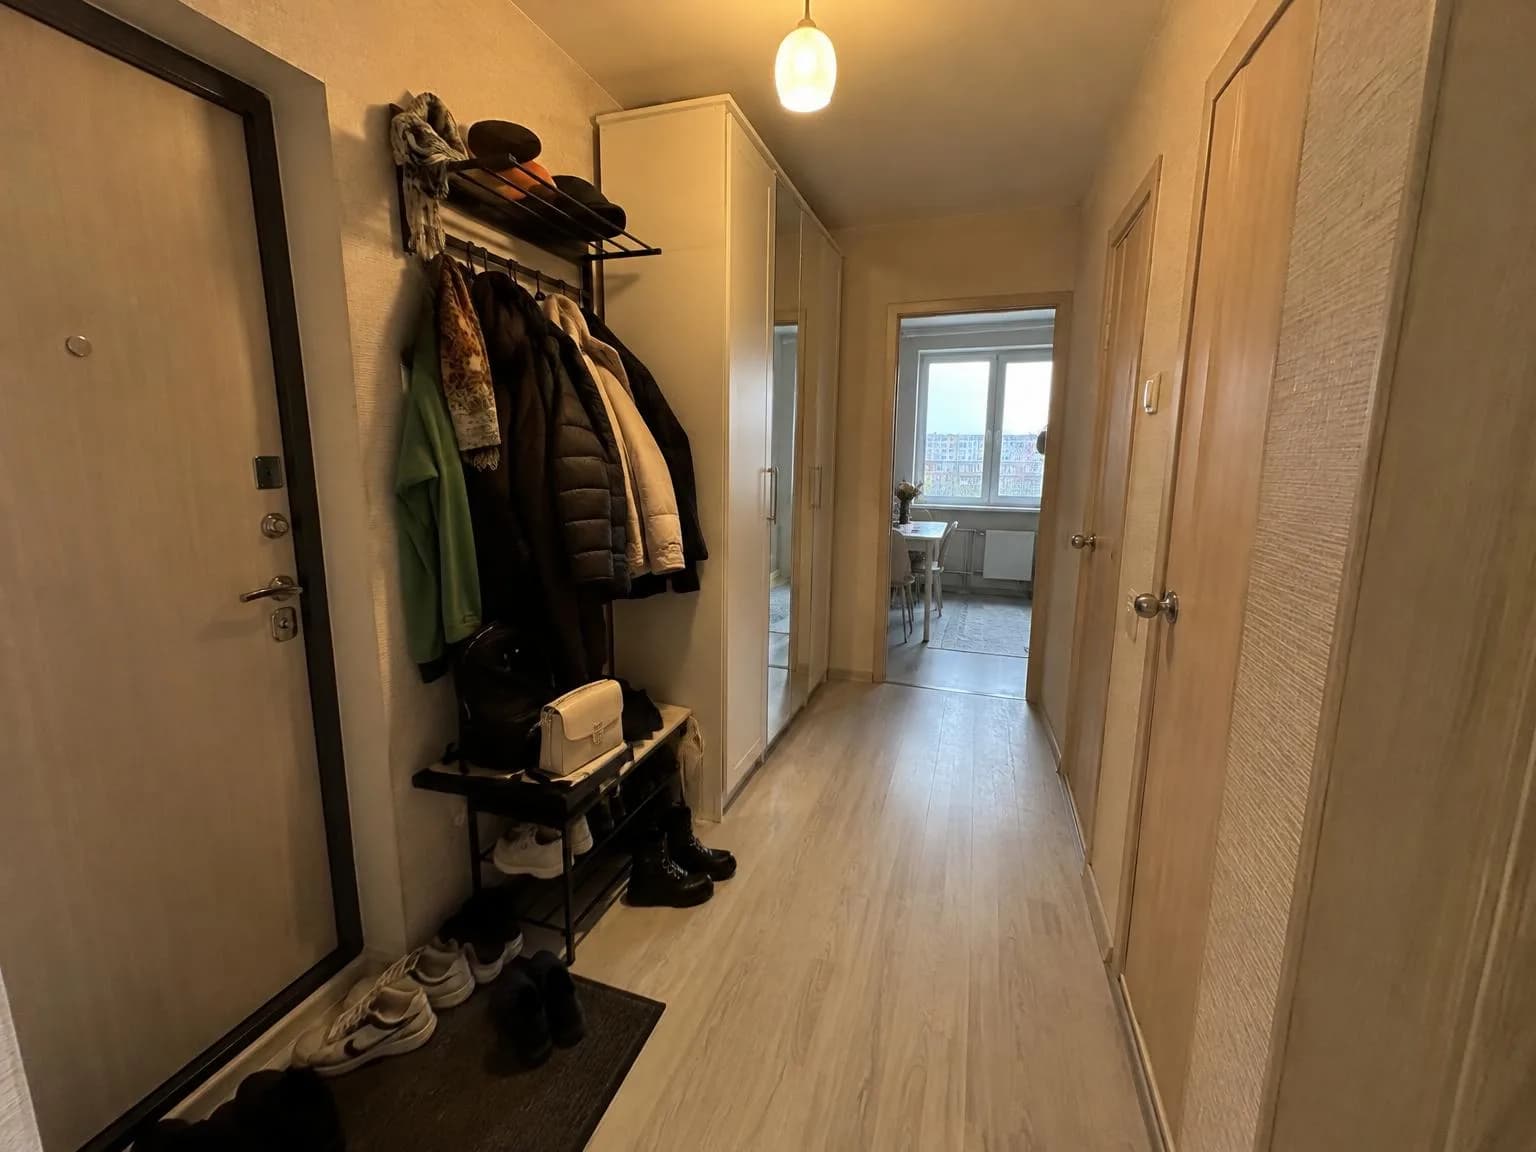
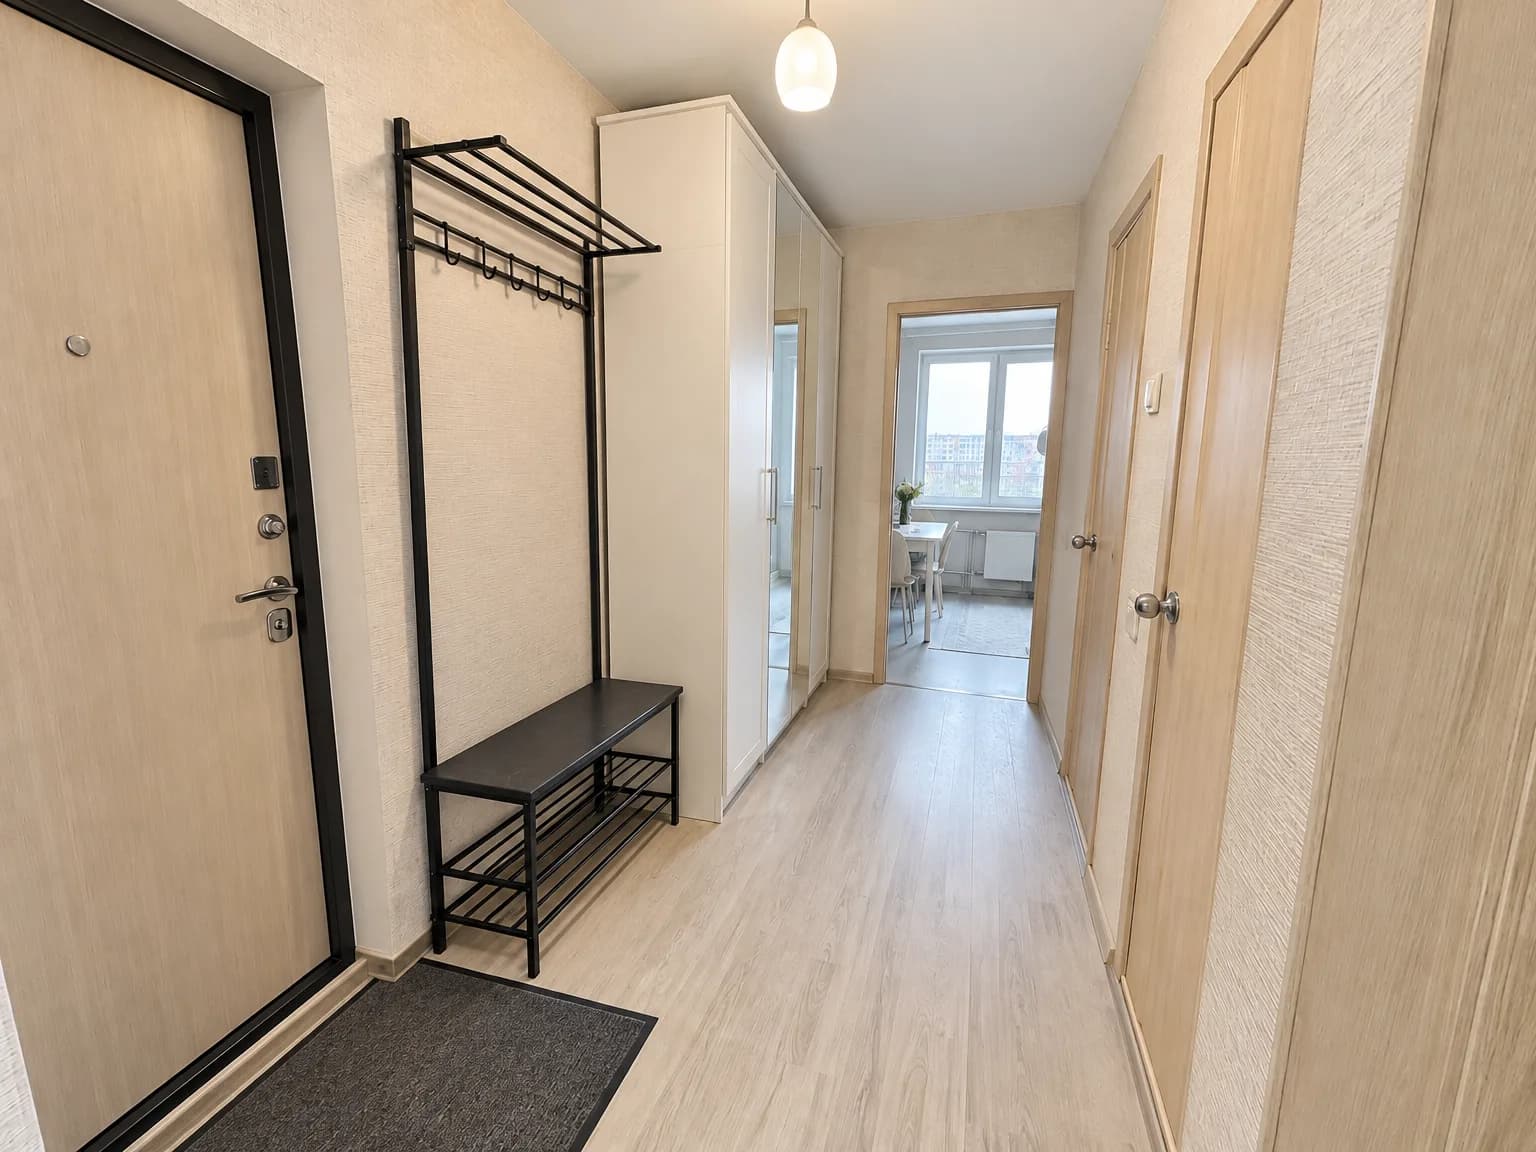
Enhance is for dark, yellow-tinted shots: it opens up the corners without blowing out the window, neutralizes the white balance and straightens the verticals. Declutter removes clothes, boxes, dishes, cables and toiletries and makes the bed.
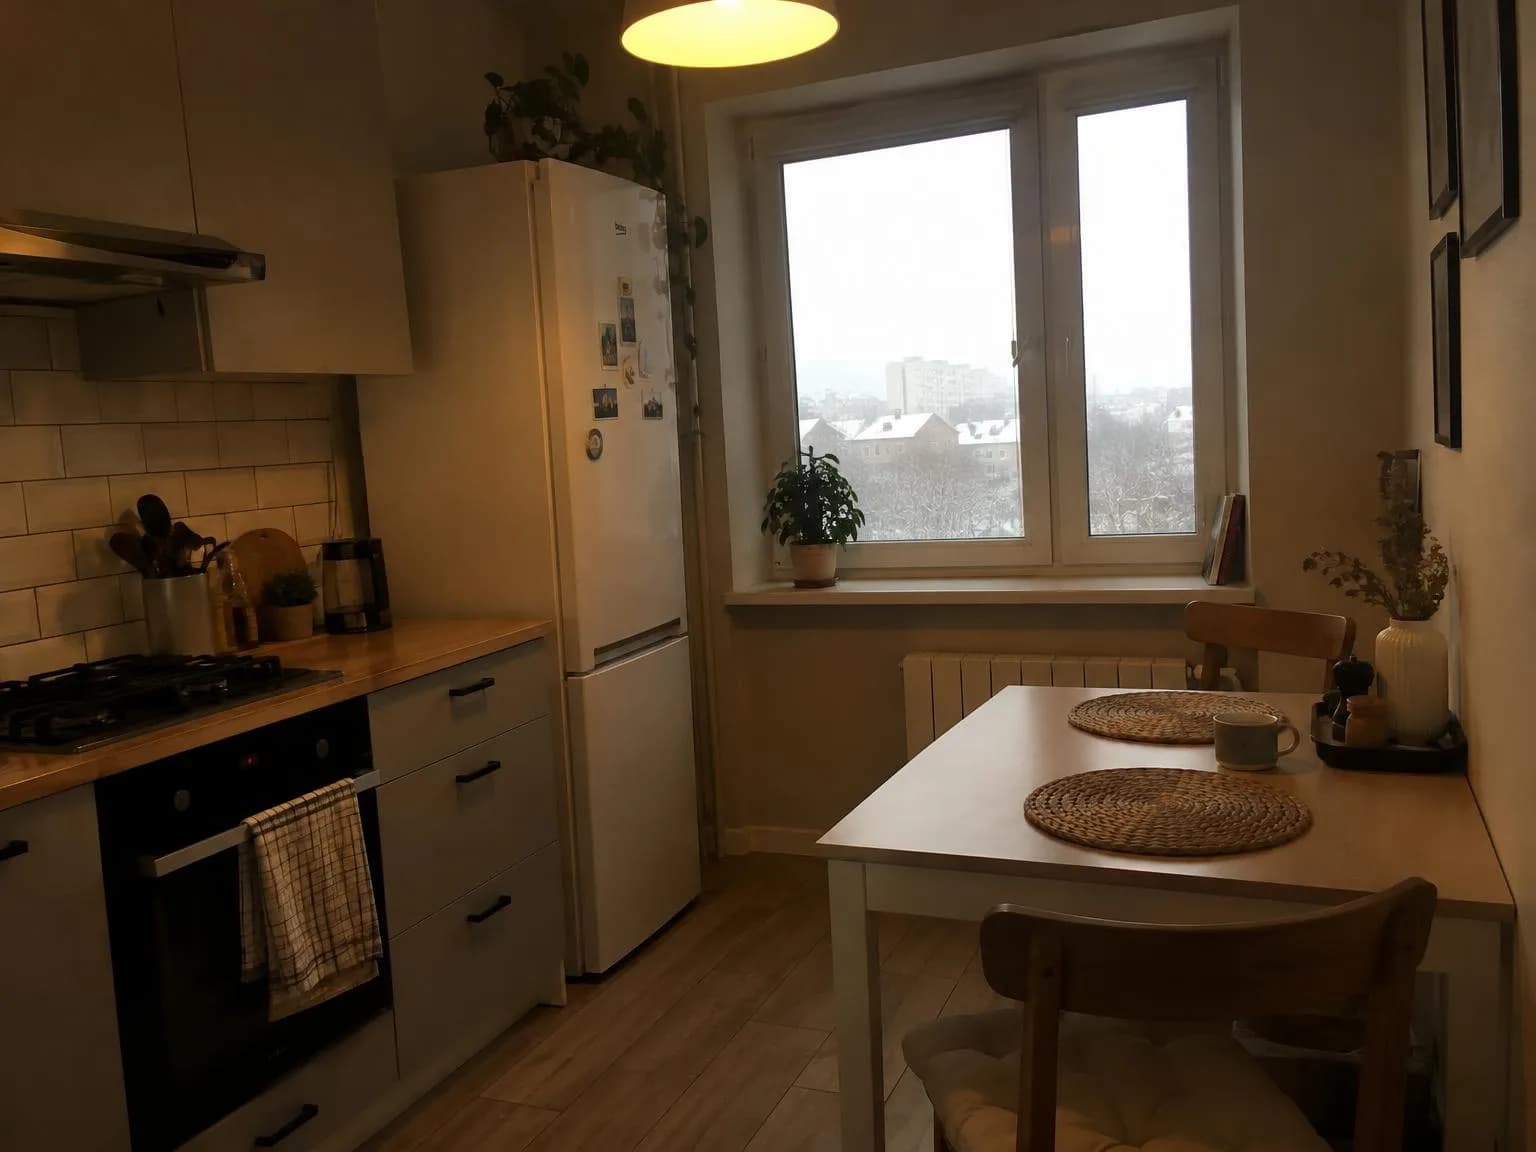
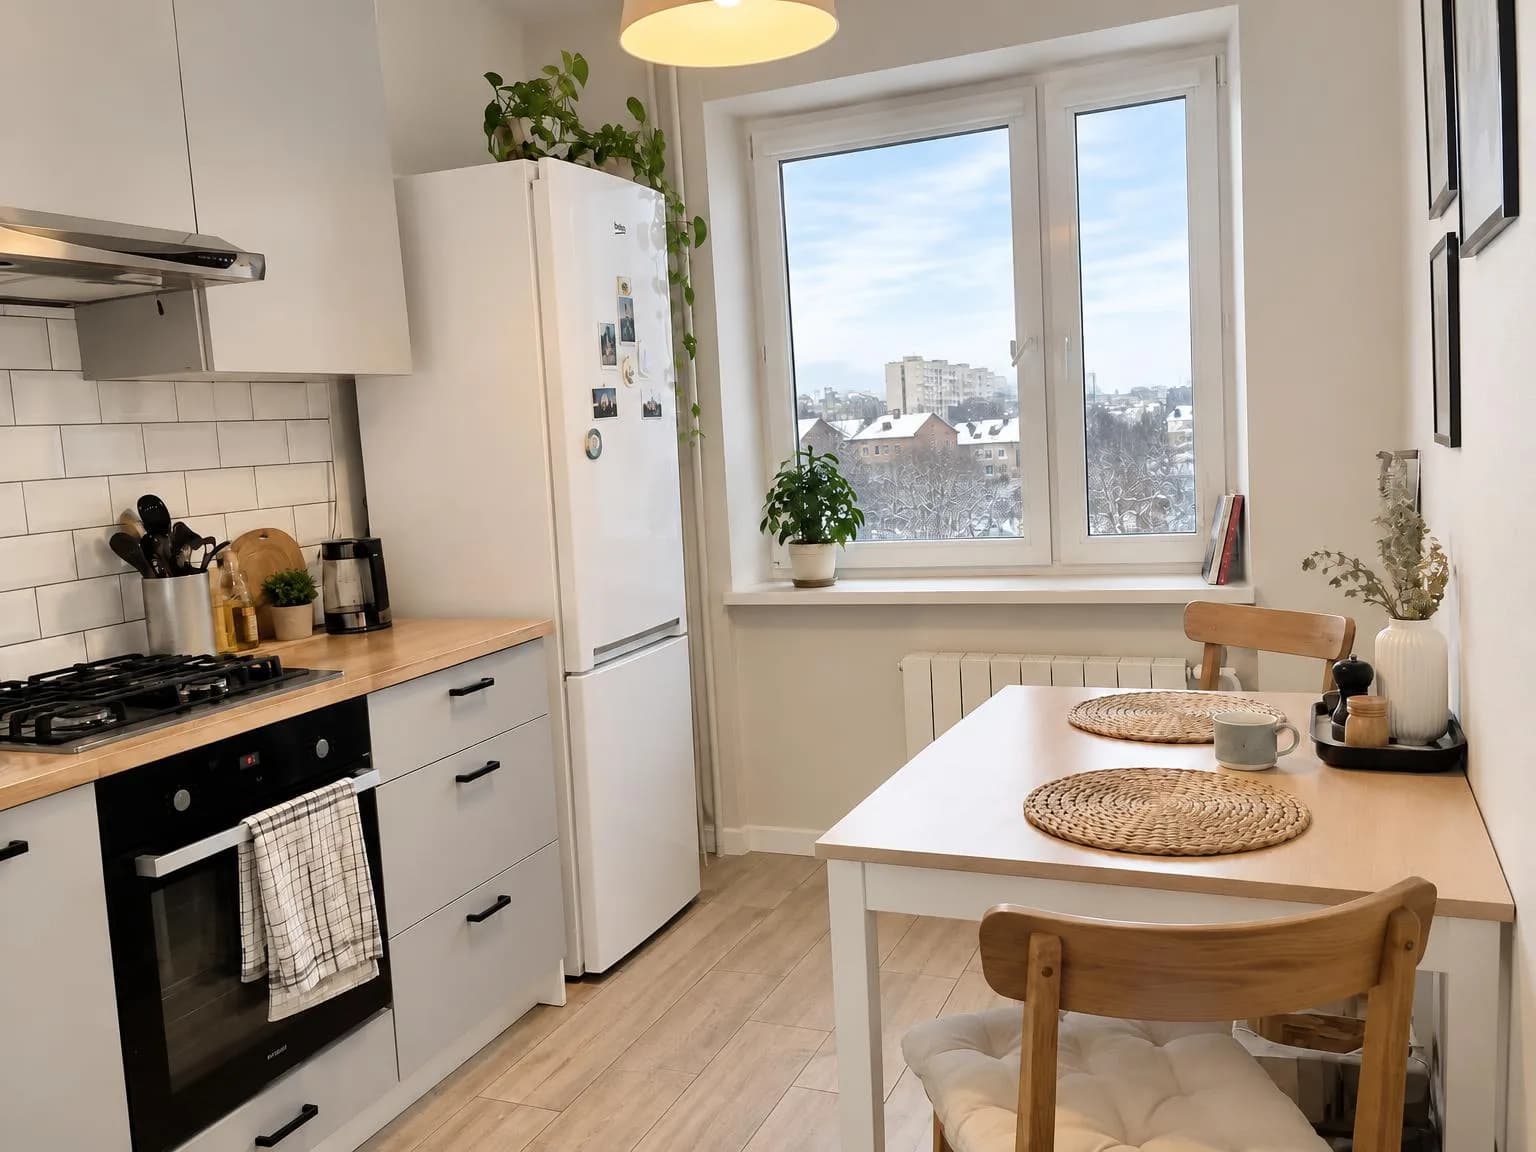
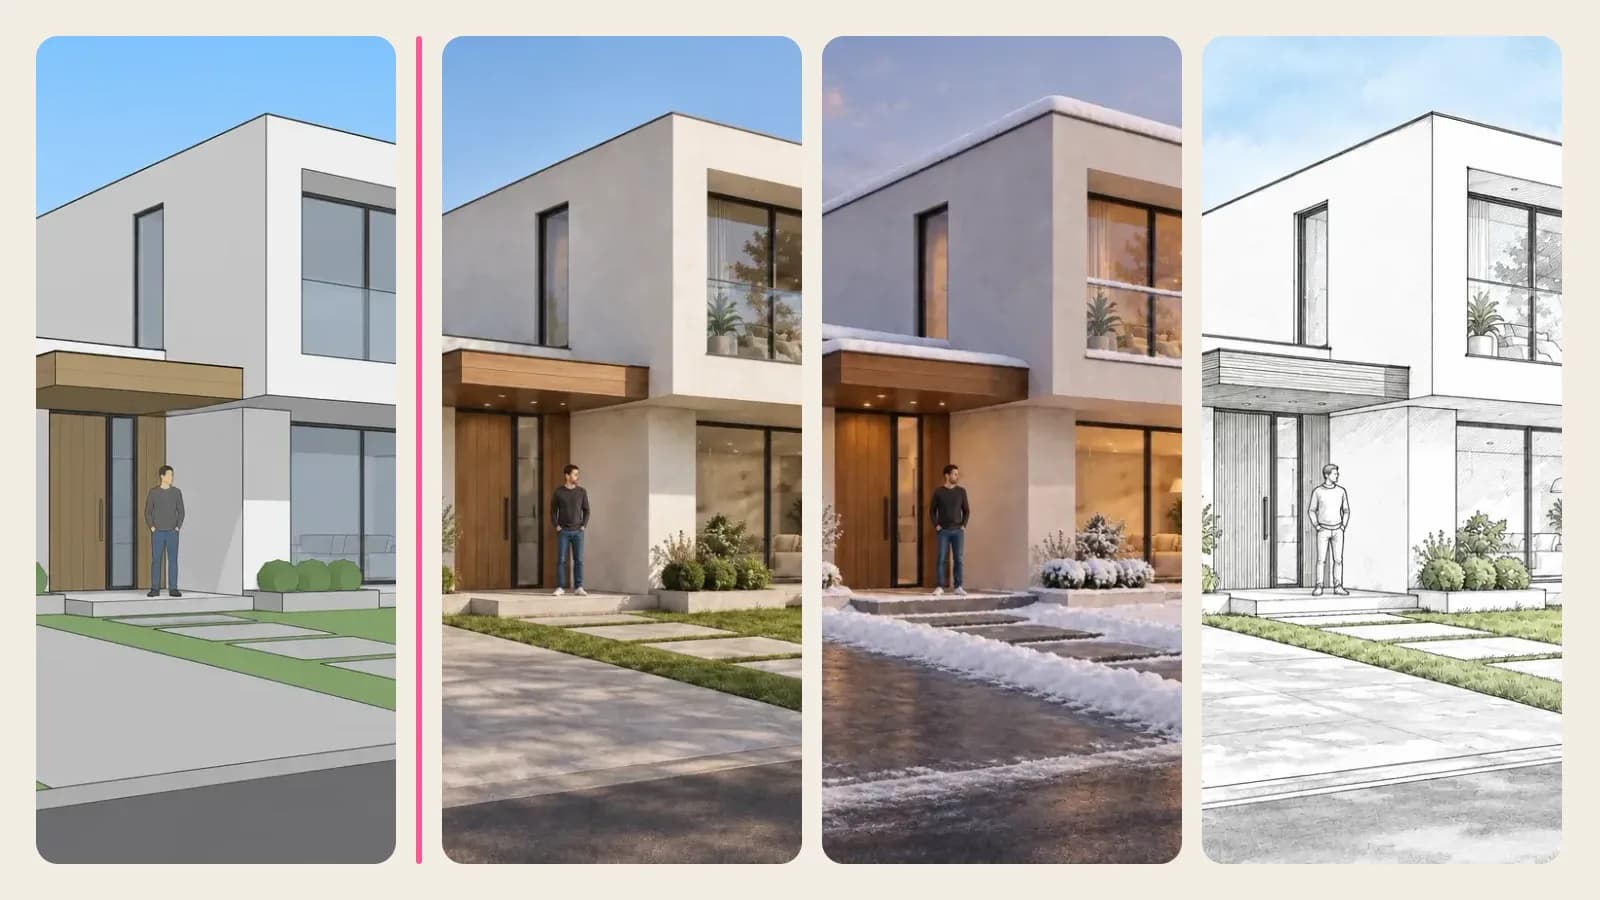
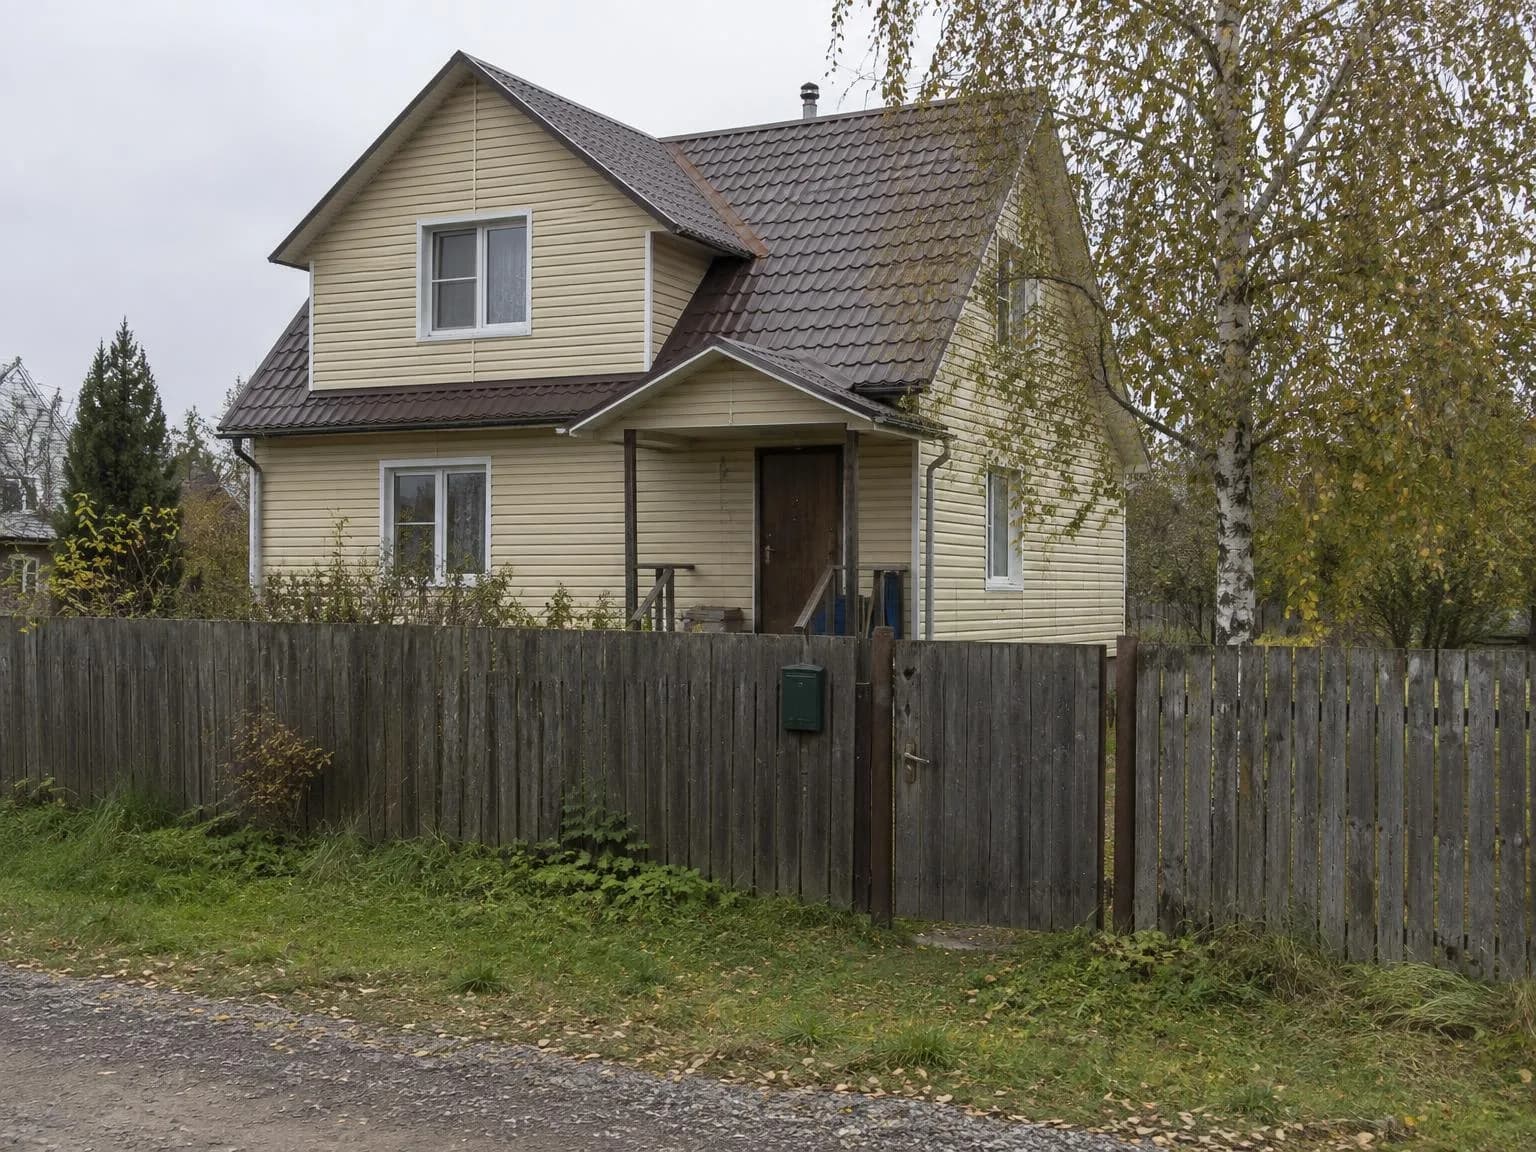
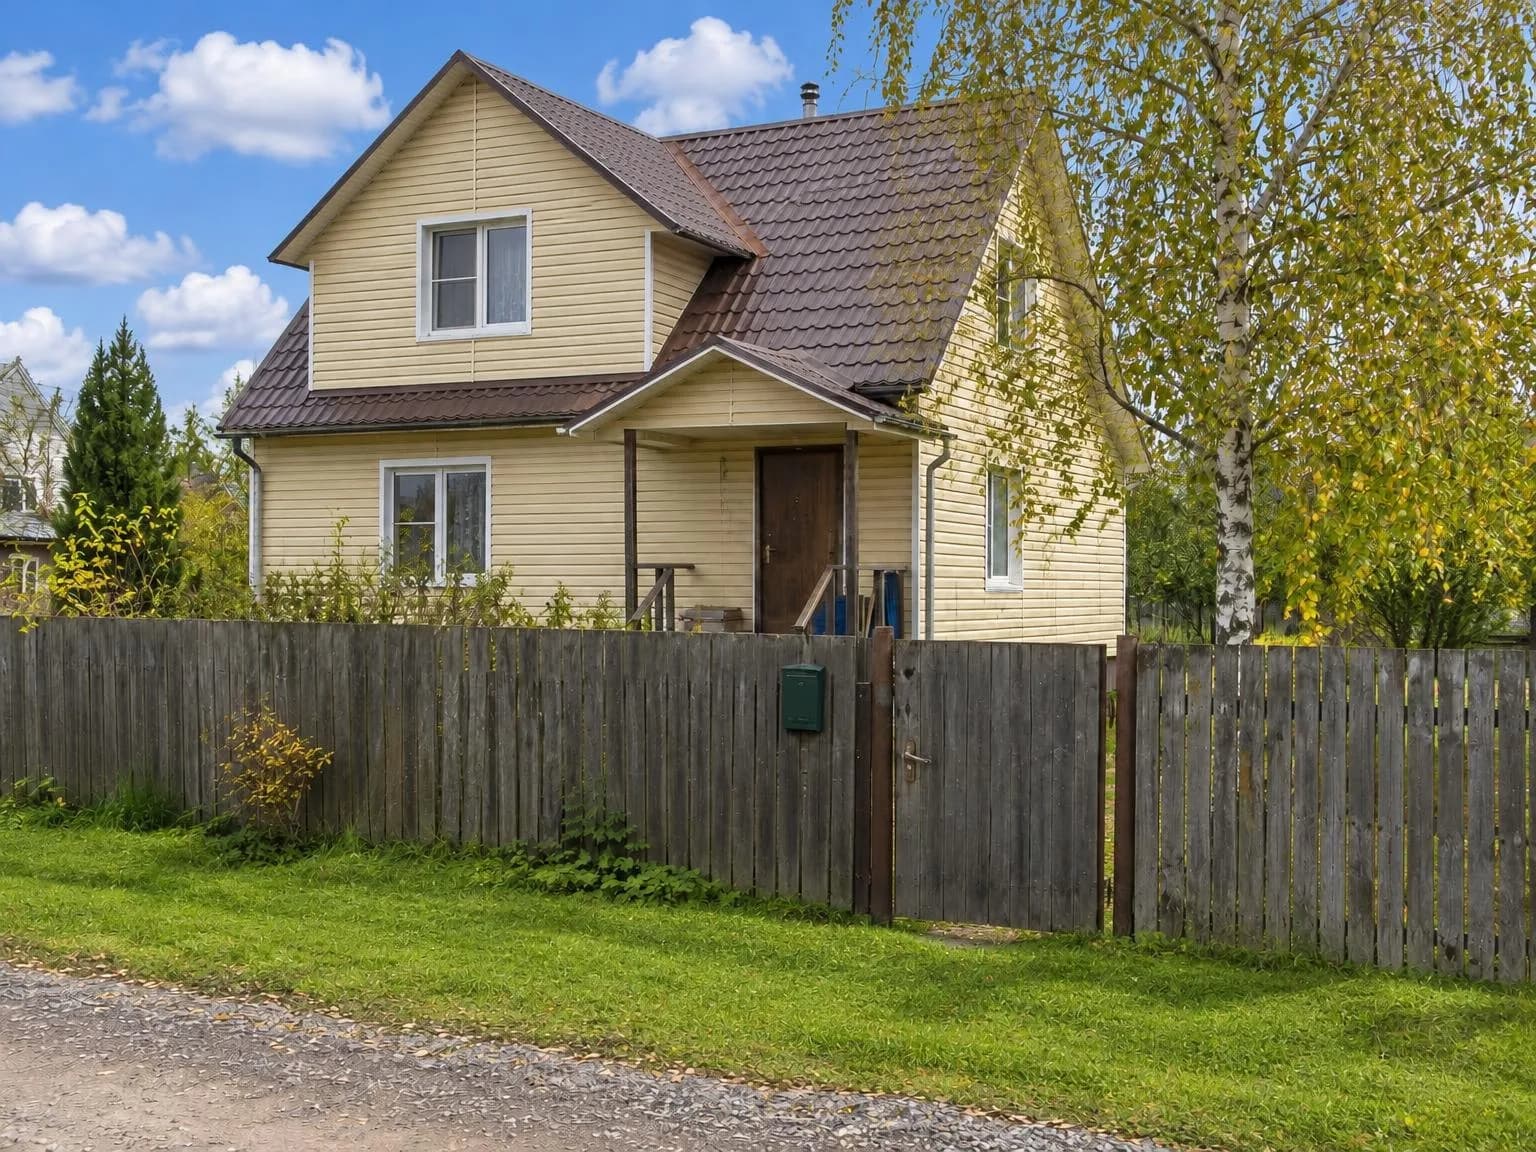
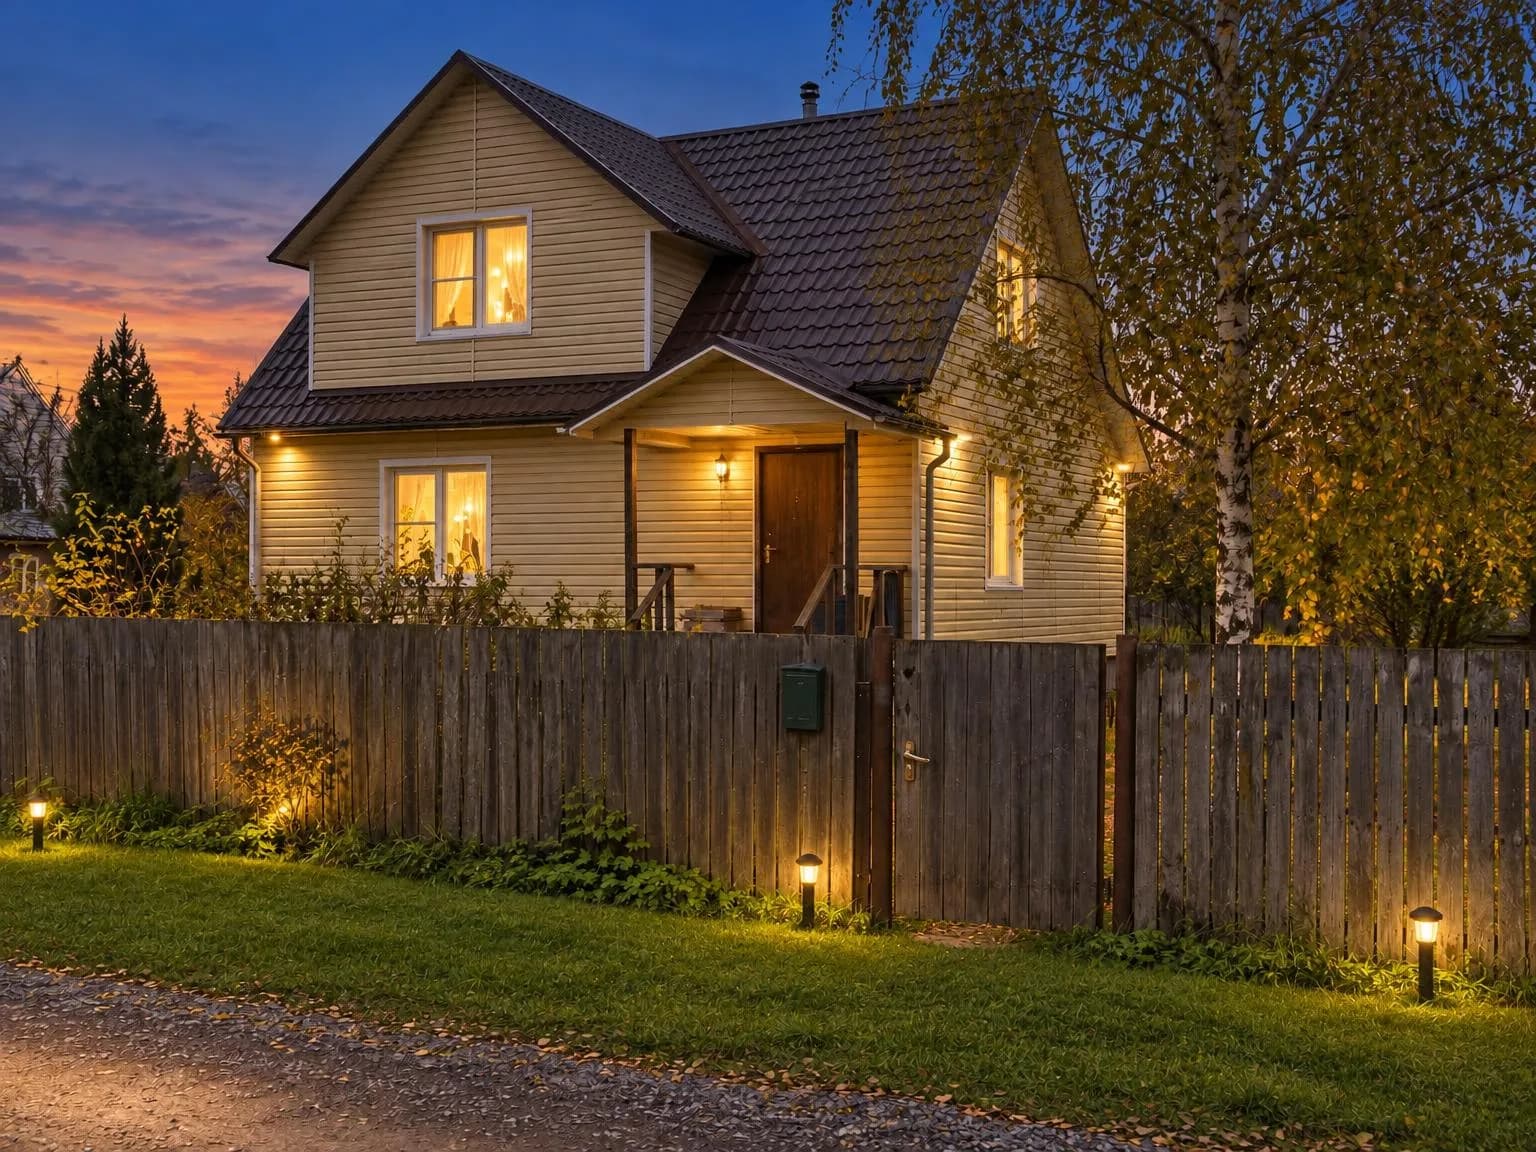
Houses get three exterior modes. Blue sky swaps a grey sky for clear blue, clouds or sunset and matches the light on the walls; it can tidy up the lawn at the same time. Twilight turns a daytime shot into dusk with warm light in every window, which makes a strong first photo. Summer view removes snow and slush when a house goes on the market in winter.
Step 2: the listing description
- Open Listing text and choose where it goes: a listing site (MLS, Zillow) or an Instagram / Facebook post.
- Pick the deal (sale, long-term or daily rent) and the property type.
- Paste everything you know as one paragraph. The text is built only from your facts and what is clearly visible in the photos: no invented schools, views or renovation years. For listing sites it follows Fair Housing wording and describes the home, never who should live there.
- Add up to six photos so the description can mention what they show.
- Choose a tone (calm, warm or premium) and click Write the listing. Not quite right? Ask for another version.
2-bedroom apartment, 54 m² (581 sq ft), kitchen 8 m², 7th floor of 9, brick-and-panel building from 1985, elevator. Separate bedrooms, separate bathroom and toilet, windows face a quiet courtyard. Renovated in 2022: laminate floors, new double-glazed windows, new plumbing. Kitchen cabinets and the hallway wardrobe stay. 10-minute walk to the subway, school, kindergarten and a park nearby. Single owner. Price $189,000.
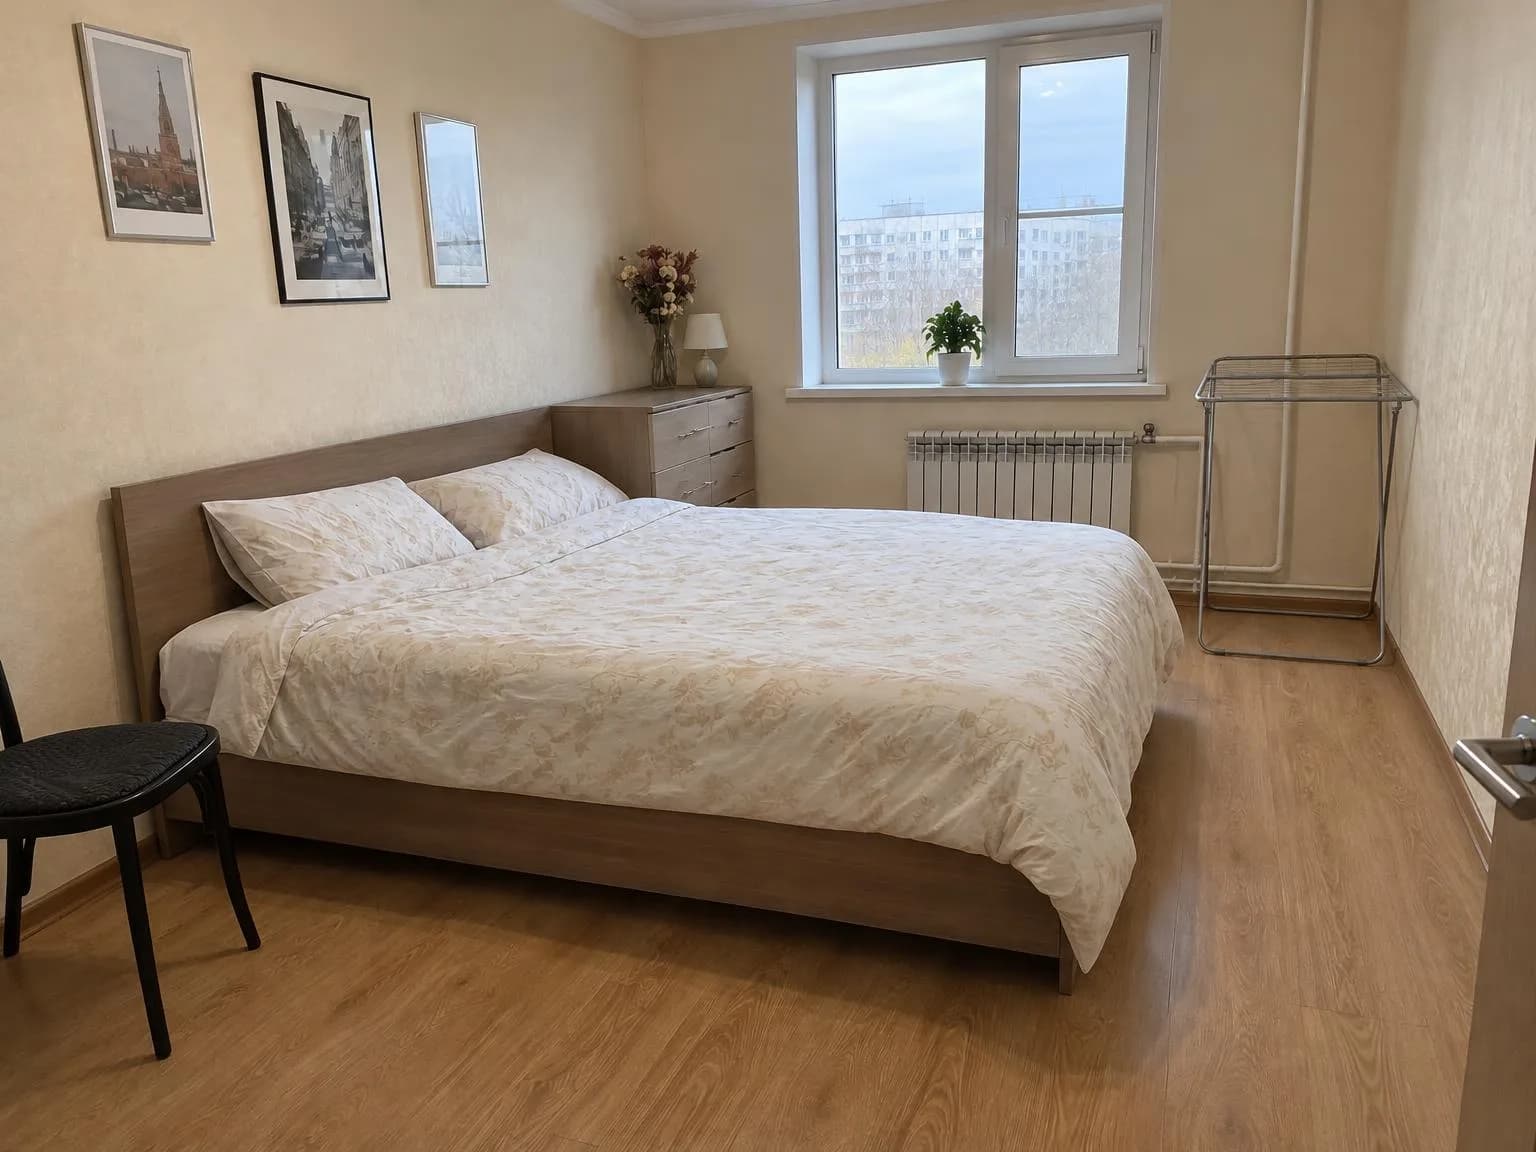
From these facts and the four photos above, the listing-site version came back with the title "2-Bedroom Apartment with Courtyard-Facing Windows" and two paragraphs of public remarks. The first opens: "This 2-bedroom apartment offers 54 m² (581 sq ft) on the 7th floor of 9 in a brick-and-panel building from 1985 with an elevator." Notice that it also wrote "other furnishings shown in the photos are not specified as included" because we only listed the cabinets and the wardrobe.
Below the text you get short facts for photo captions ("Courtyard-facing windows", "Renovated in 2022") and the questions buyers will ask first. Here it suggested adding monthly utility costs, parking and how long the owner has held the property. Answer them in your facts, write again, and the listing gets more complete.
Step 3: a video tour from photos
- Open Property video tour and upload 3 to 10 photos, ideally the ones you just processed.
- Put them in viewing order with the arrows. Each photo becomes a 5-second shot with a smooth camera move.
- Choose horizontal 16:9 for listing sites and YouTube or vertical 9:16 for Reels and Stories.
- Choose the video model: MiniMax H3 Turbo is faster, Kling 3 is more cinematic.
- Add a title for the first shot, keep the background music on and click Make the tour. It takes 3–6 minutes.
Pricing
| What | Price |
|---|---|
| One listing photo | 6 credits |
| A whole home, 30 photos in one run | 180 credits |
| 4K copy | +2 credits per photo |
| Listing text | 2 credits |
| Video tour from 4 photos with music, MiniMax H3 Turbo | 110 credits |
| Video tour from 6 photos with music, MiniMax H3 Turbo | 154 credits |
Credits for photos that fail and tour shots that don't render come back automatically, and the listing text is only charged when it's written. New accounts get 6 free credits, enough to try a few photos of your own listing. You can use the results commercially, including in listings and ads.
Upload a room photo from your phone and get a bright listing shot in about a minute.
Edit listing photosTry everything from this article in minutes
All the models and tools from this article are in one place. You get 6 free credits after sign-up, and every price is shown before you run it.
Edit listing photos